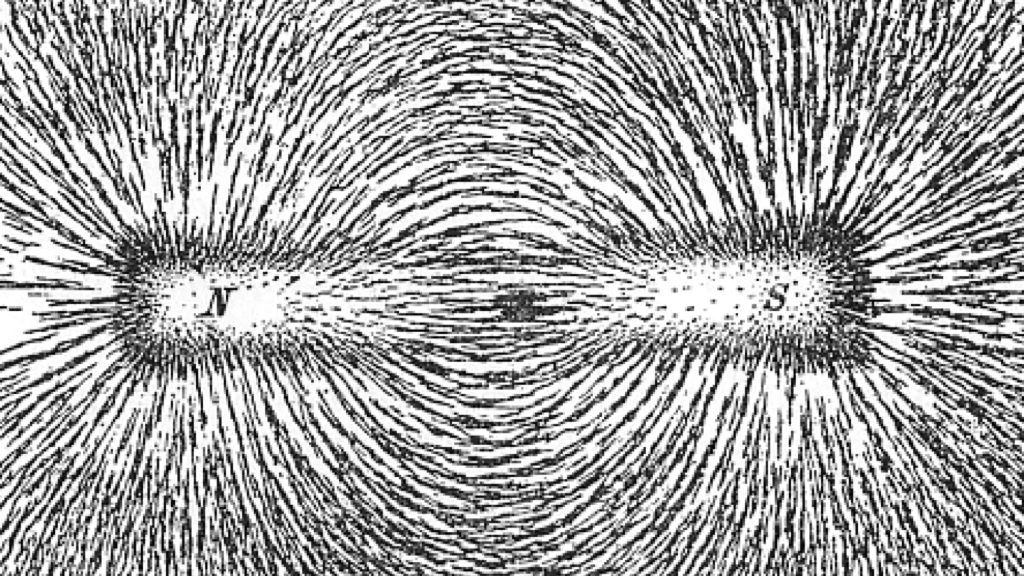
Why Field Mapping Matters During Incoming Inspection
For magnet and field systems, delivery is not the end of the project.
Acceptance testing is where problems are discovered.
Many laboratories focus on maximum field strength.
However, most post-delivery issues come from:
- Field non-uniformity
- Drift over time
- Temperature-induced instability
- Poor repeatability
Field mapping during incoming inspection is the only reliable way to verify system performance.
What Is Field Mapping?
Field mapping is the systematic measurement of magnetic field values across a defined volume.
It is used to verify:
- Field uniformity
- Spatial gradients
- Symmetry
- Stability over time
Mapping results should be compared directly with the supplier’s specifications.
Step 1: Define the Mapping Volume and Grid
Before any measurement, define the acceptance volume.
Key questions:
- What is the usable uniform region?
- How is uniformity specified (±%, peak-to-peak, RMS)?
- Is the requirement 1D, 2D, or 3D?
Best practice:
- Use a regular grid (e.g., 5×5×5 points)
- Increase point density near edges
- Record exact probe positions
Common mistake:
Only measuring the center point.
Step 2: Verify Field Repeatability
Repeatability confirms system control quality.
Checklist:
- Ramp the field up and down multiple times
- Measure the same point after each cycle
- Compare deviation between runs
Acceptable repeatability is usually tighter than long-term drift.
Poor repeatability often indicates:
- Power supply instability
- Sensor noise
- Control loop issues
Step 3: Monitor Temperature Rise and Thermal Effects
Temperature directly affects:
- Coil resistance
- Power dissipation
- Field stability
During inspection:
- Monitor coil temperature
- Record field value over time
- Note stabilization time after ramping
Important:
Thermal equilibrium can take tens of minutes, not seconds.
Step 4: Measure Drift Over Time
Drift testing is essential for experiments lasting hours or days.
Typical procedure:
- Set a constant field
- Measure continuously for 1–4 hours
- Record peak-to-peak variation
Drift sources include:
- Ambient temperature changes
- Power supply offset drift
- Sensor aging
Step 5: Validate Sensor and Probe Placement
Probe placement errors can invalidate the entire mapping.
Checklist:
- Confirm probe orientation
- Verify probe calibration date
- Avoid metallic fixtures near the probe
- Use non-magnetic positioning tools
Even small angular misalignment can introduce significant error.
Acceptance Documentation: What Should Be Included?
A proper acceptance report should contain:
- Mapping grid definition
- Raw and processed data
- Uniformity calculation method
- Drift and repeatability plots
- Temperature monitoring results
👉 Product link placeholder: Cryomagtech Field Mapping & Acceptance Test Support
Cryomagtech systems can be delivered with complete field mapping and acceptance test reports, reducing risk for laboratories and procurement teams.
References
- Wikipedia – Magnetic field measurement
https://en.wikipedia.org/wiki/Magnetic_field_measurement - IEEE – Magnetic measurement and calibration standards
https://ieeexplore.ieee.org/
Final Checklist Summary
Before signing off acceptance:
- ✔ Mapping volume defined
- ✔ Uniformity verified
- ✔ Repeatability confirmed
- ✔ Drift measured
- ✔ Thermal behavior understood
Incoming inspection is not paperwork.
It is risk control.